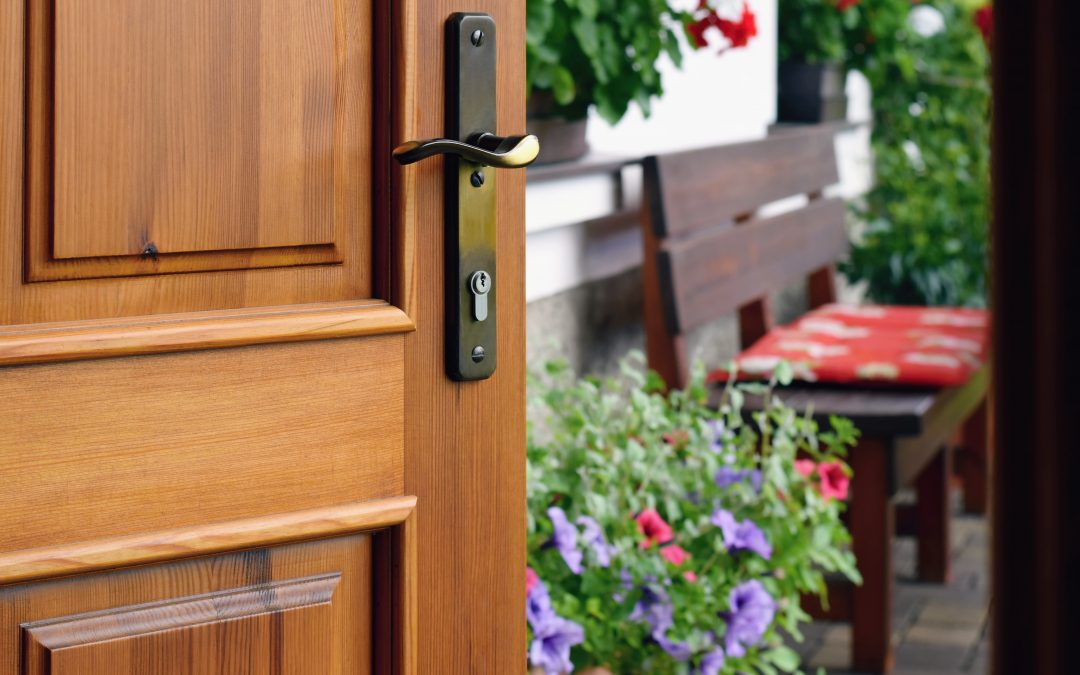
A wood front door is your home’s face and can be a great feature when it comes to your home’s curb appeal. However, years of exposure to the environment can leave it looking worn out. With regular maintenance, your wood door can look great for decades, but if your exterior door has been neglected, summer is just the time for some serious restoration.
Step 1: Remove the Door and Lay Flat on a workable surface
- First things first, remove the door from its hinges. Remember that a solid wood door is hefty so you might need some help.
- Place a wooden block under the bottom edge of the door for some support.
- You can now remove the hinges by taping the pins upwards with the flat head screwdriver.
- Lay the door flat on your work station.
Ideally, work in a shaded area to protect the door while applying paint or varnish.
Step 2: Remove All The Hardware
If the door is still in an ‘okay’ condition and not showing any visible deterioration, you may be lucky enough to get away with just re-coating with some paint or varnish. If this is not the case, your best bet is to strip down the door entirely before refinishing.
- Your first step is to remove all the hardware like the handle, deadbolt cylinder, mail slot, knocker, kick plate, etc. If you are careful enough, you can probably get away with leaving the hardware on, but this could prolong the process, and you could be disappointed by the finished look.
Step 3: Sand Down the Door
- Now with the hardware removed, it’s time to sand that door down. Power sander works great for flat surfaces, but woodwork details need to be sanded by hand. The more detailed the carvings, the more tedious this process will be.
- Start with 60-grit paper and work your way up to 180-grit paper.
- Make sure to remove all the old paint or varnish.
Tip: Be careful when sanding wood adjacent to the glass, not to scratch the glass.
Step 4: Wipe down All Traces of Sawdust & Apply the finished coat
- Before you apply your finishing coats, remove any sawdust by lightly wiping the door down.
- Next, use a paintbrush to apply either your paint primer or your fist coat of varnish.
Step 5: Apply Exterior (spar) Varnish Or Paint
- After letting the stain or primer dry, the most crucial step is to coat the door with exterior varnish or exterior paint. Exterior paint products are different from interior paint products as it has special additives that help protect the wood from UV rays and the elements.
- You’ll want to apply at least 2-3 coats of varnish or paint for the desired look.
Step 6: Reinstall Hardware and Hang the Door
- After letting the door dry according to the instructions, reinstall the door hardware.
- Now for the final touch! Hang the door.
Get your next custom wood door from us
Master Doors have everything from wood front doors, solid wood exterior doors and custom entry doors, wine cellar doors, wooden entry doors, modern door design, wooden sliding doors. Browse through our website for the latest elegant styles available for your picking.


