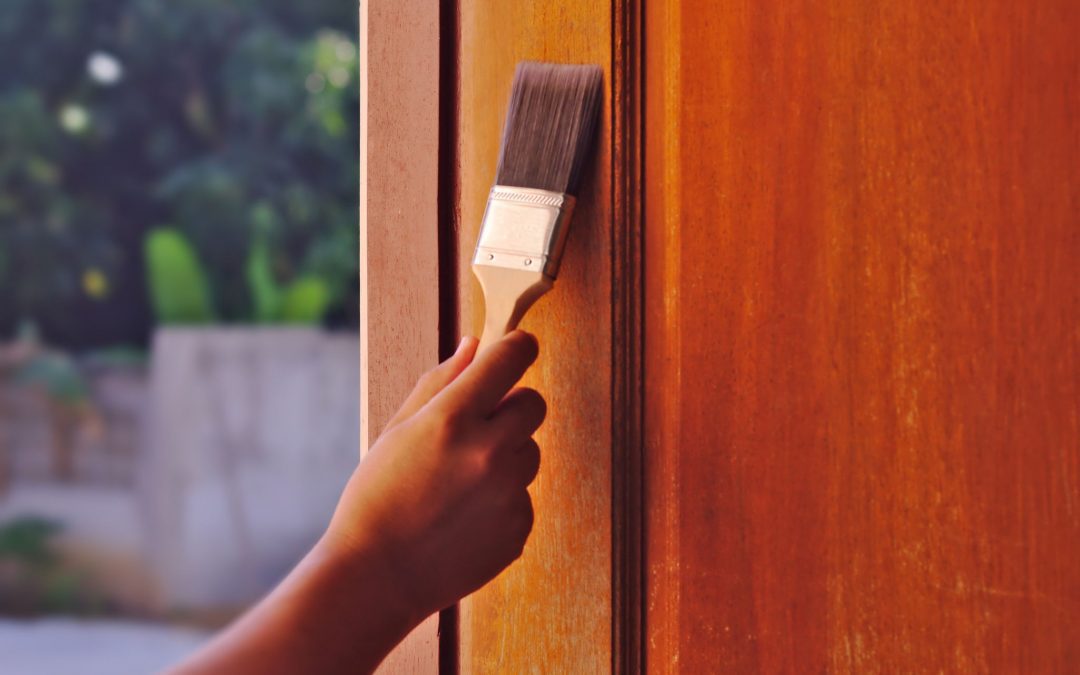
All products made of wood, especially wood doors, are highly susceptible to the elements. Extreme temperature changes, humidity, and moisture can all cause damage to wood. When a wood door is left unsealed, it will soak up any excess moisture in the air, which will cause it to swell and warp. The following expert wood door finishing tips will show you how to seal your wood doors from the elements properly.
Step 1: Prepare
Start by placing a drop cloth on the floor of your work area, then put the sawhorses on top of it. Remove the wooden doors to be sealed and place one on top of the sawhorses. Remove the doorknob and hinges using a screwdriver. You should never try to seal wood doors while they are attached to the frame, as you will not be able to contain the drips or spills that may hit the floor. Use sandpaper to sand down the door. You will need to sand the door, even if it is brand new, to remove handling marks and to open the wood’s pores so it will soak up the stain and the sealer. Use textured and rough grit to remove any damage and follow with fine sandpaper to smooth the wood. Wipe down the door using a damp rag and tack cloth to remove the sanding dust.
Step 2: Apply Wood Treatment
Once you have finished sanding and wiping down the wood door, you will need to apply a sanding sealer. This type of wood treatment is more relevant for softwoods and species that do not absorb sealers evenly. Apply the sanding sealer using a brush with soft bristles to prevent discoloration and blotches as you proceed with sealing the door. Allow the wood treatment to dry before continuing to seal the wood door. Be sure to check the wood treatment container before starting work to see if it has any toxic chemicals to breathe in. If so, wear a face mask during application.
Step 3: Stain
If you choose to stain the wood door, you will want to use a stain intended for exterior use that is also UV protected. Do not use combination stains or sealers on wood doors as they do not offer the protection you need, and you will then have to use another product to seal the wood. When you have the stain you need, use the foam brush to paint it on the door. Make sure to brush against the grain. Then, using a rag, wipe the stain downward along the flow of the wood grain. Wipe off the excess and allow it to dry before continuing to the next step.
Step 4: Seal
Now for the fourth and final step, sealing the door. As with the sanding sealer, check the ingredients to see if the polyurethane has any safety instructions and carefully follow them. Use a clean brush to apply polyurethane along the grain. Once the polyurethane has dried, which should take 1 to 2 days, inspect the door by feeling its finished texture, which should feel slightly rough. This texture confirms that the sealer did its job. Use very fine-grit sandpaper to remove the rough texture and wipe it down using a damp cloth. Attach the doorknob and hinges, and hang the door.
Buy a pretreated door from Master Doors
Use these expert wood door finishing tips to achieve that professional look, or buy a pretreated door from Master Doors. We are committed to offering the widest variety of high-end durable interior- and exterior solid wood doors. All our doors offer superb styling and long-lasting performance. Our team is always ready to assist you with your inquiries. Get in touch with us today or request a free quote, and our staff will provide on-site free consultation for your project.


